
Until now Induro has been making tripods and heads suited for photography. Their Hi-Hat is their first camera accessory that ventures into the filmmaking realm. Although not entirely perfect, this hi-hat is a very solid piece of kit. Here are the specs:
- Aluminum Alloy
- 220 lbs. max weight load
- Pivoting feet
- Expandable legs
- 100mm ball mount (75mm coming)
- 100mm half ball adapter (75mm coming)
- 3.9" to 11.4" in height
- Weighs 4.6 lbs
- Screw holes for mounting
- 3/8" & 1/4" tapped holes in the bowl mount for accessory mounting
(You might also like: A New Camera Bag For Filmmakers)
What I Like:
What I like most about this tool is its versatility. If I am going to own a camera accessory, then I want it to be able to do more than one thing. Often times on smaller productions, I find myself being required to do multiple jobs, and I've come to expect the same from the gear I use. On the bigger projects where I have a larger crew, I'm not concerned with having a multifaceted tool, as I have the gear, people and help I need to get the job done quickly. The versatility of this Hi-Hat begins with its legs. Not only can I extend the legs making it taller, but there are three positions to lock the legs into place.
 |
| Hi-Hat in its standard configuration |
 |
| Hi-Hat with it's legs extended |
 |
| Legs in position 02 |
 |
| Legs in position 03 |
 |
| Hi-Hat used on uneven ground. |
Another way I see this hi-hat coming in handy is with the use of my MYT Works slider. Sometimes I need a little more height than the feet can provide, and I want a quick way to level the slider. Or I need to fly the slider off of a set of stairs (as pictured at the start of this article). All of this can be accomplished by using the Induro Hi-Hat instead of using a bunch of apple boxes that have to be leveled.
 |
| MYT Slider on the ground |
 |
| MYT Slider supported by the Hi-Hat |
 |
| Yep- that is VERY close to the ground... |
There have been occasions where I have needed to get an extremely low shot, but I have not had a low-hat on me. At these times, I turn to using a sandbag. While this is great for keeping the camera stationary, what I don't like about it is the lack of fluid movement. The resulting shot ends up feeling more handheld, which is not always the feeling I want to impart to the audience. So this is another occasion where I'll be glad to have the Hi-Hat. By using it in low mode, I'll still be able to use my fluid head to get the angle I want with the correct feeling of motion in the shot.
The last feature that I really like about this Hi-Hat is its ability to shrink down into a small size for easy transport. The legs fold in, allowing me to easily put the hi-hat into a bag, or tuck it into a tight space, which can be important when I've got a van full of equipment without a lot of room to spare.

What To Be Aware Of:
Although I see a lot of benefits to this hi-hat, there are some things that I think you should be aware of before you run out and buy it for yourself. I wouldn't classify all of these as faults, but they are issues that are important to know about.
The first thing to be aware of is the releasing and tightening mechanism for the legs. To tighten or loosen the legs the user has to spin the collar at the base of each leg. While this is one of those things that isn't technically a fault, it is something that I don't prefer. Spinning the collar has three drawbacks for me. First of all, it means that it takes extra time to tighten and loosen each leg. I prefer the quicker latch system that is popular on many tripod legs. The second draw back to this method is that is it possible to not fully tighten the legs and have the support collapse. I know this is user error, (I have done this before with a tripod that tightened the same way) which is why I like the confidence of the visual confirmation from a latch system. It helps to protect me from myself. The third potential drawback is how it will hold up over the long haul. I have only had the Hi-Hat for about a week, so I don't know what the longer term life will be, but I have worked with old tripods that use a similar system. Some of them have lost their ability to fully tighten, or don't tighten at all when small particles like sand get stuck in the mechanism, and it can be troublesome to clean.
The second thing to be aware of is the three piece tie-down. Any time a piece of kit has parts that do not stay together, it gets at one of my personal pet peeves. And this tie down falls into three pieces as soon as it comes off of the hi-hat. I know I am going to lose the washer very soon. It will inevitably fall through a small crack, or I'll forget to put it back on in the middle of setting it up to get the next shot. Personally, my favorite tie-down to date, also comes from MYT Works. Their tie-down functions as one piece and it is very solid and robust. While I don't expect the same out of this tie-down, it would be nice if it were at least one piece where I didn't have to worry about losing a part. And another benefit of being one piece is that it would make installing it easier for the end user- instead of having to carefully balance all three pieces. I would just use the MYT tie-down, except, that Induro has done a great job at making theirs low profile, which is needed for low-hat mode on the tripod. (I have discussed this with Induro and they are working on developing a one piece tie-down.)
 |
| Induro tie-down on the left, MYT on the right |
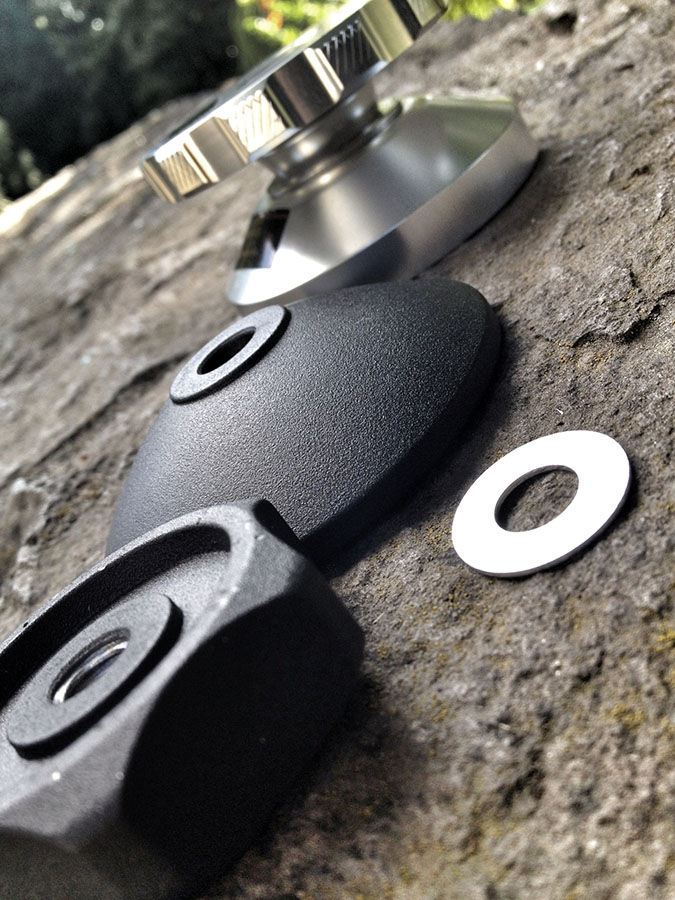 |
| The number of parts the end user has to deal with for each tie-down |
The last thing to be aware of is that the clearance for the tie-down when the hi-hat is in its lowest position is very, very, very minimal. This can turn into a problem if you are on uneven ground and you need to level the head on the ball mount. There are positions where the tie-down will hit the ground underneath. When it hits the ground like this, the hi-hat will slightly rock as you pan or tilt the camera, as it it rocking on the tie-down. Ideally, you'll be able to either adjust the ground, or extend the legs out to get the added 1/4-1/2" you need to get the shot. But there might be a few times when neither of these solutions is feasible, as you can see in my pictures below.
 |
| Hi-hat in its shortest configuration on uneven concrete |
 |
| The tie-down hit the concrete when I leveled the head. |
I see the Hi-Hat fitting in nicely on productions that have a small crew or limited space, and for those situations where you need one piece of gear to do multiple jobs in a timely fashion. It is these situations where this tool really shines. If you already have a hi-hat, and a low-hat, then I'm not sure that it will be a worthwhile investment for you. You are probably already used to carting those tools around, or have the additional crew members and accessories to make that setup work for your needs. This would just be overkill for your kit.
The one place that I see a traditional hi-hat/low-hat still being the preferred tool is for those situations where you need to have it mounted to a board to provide extra stability (e.g. if you need to secure it to the top of a ladder). By screwing the Induro Hi-Hat to a board, it loses all of its versatility, not to mention the fact that now you have to carry around screws, a board, and a screw driver. So if you find yourself needing that kind of setup a lot, then I think it would be a better investment to spend the money on a tool that does one job. Screwing this Hi-Hat to a board and leaving it there just makes it a very expensive Hi-Hat.
I'd also like to thank Nic Rios for coming out to shoot with me for the day, and help me put the Induro Hi-Hat through its paces.
Until Next Time - Get Out There And Shoot!
Ryan E. Walters, Cinematographer
RELATED POSTS:
A New Camera Bag For Filmmakers
The Great ND Test of 2013
Resources For Cinematographers
RELATED POSTS:
A New Camera Bag For Filmmakers
The Great ND Test of 2013
Resources For Cinematographers
No comments:
Post a Comment