 |
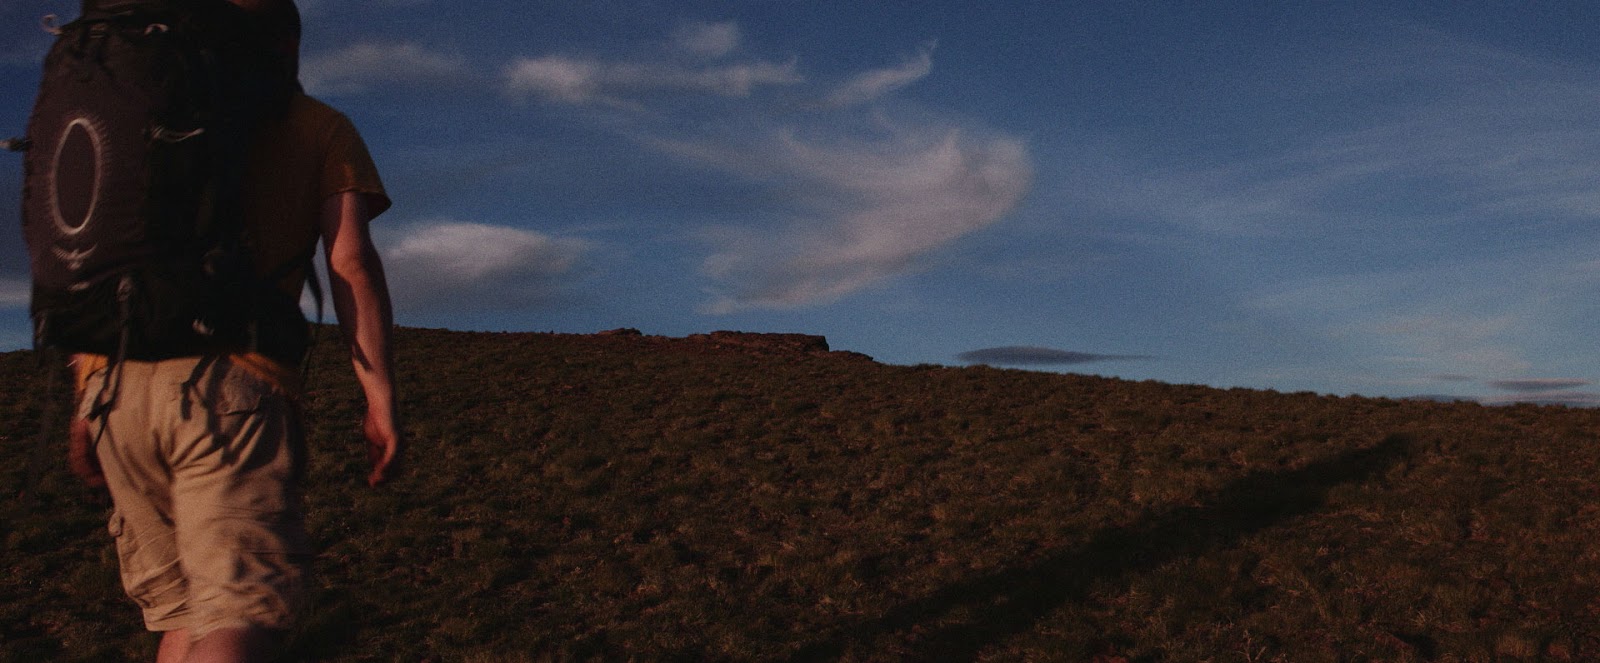
| C100 with FilmConvert |
When I first started implementing this technique, I ran into situations where I thought the image looked good on set, but back in the grade, the LUT didn't work as planned. I lost important information in my image, and I had to abandon using the LUT.
That began my quest for a solution on how to develop a methodology for how to shoot for the grade. Here is the process I went through, and how you can be better prepared to use LUTs or programs like Film Convert when lighting your sets.
Solution 01: Go With Your Gut
When I first began using LUTs and "look" software in my grading, there was a lot of trial and error involved. Some of the content I shot looked great and came out as expected. Other times I failed. After spending time testing and experimenting, I began to develop a gut instinct about what would work and what wouldn't work when I was lighting and exposing my images on set.
My basic rule of thumb was to add more light to the underexposed areas of the frame that I wanted to keep detail in, and to always protect my highlight. As long as I did that, I would walk away with images that would look the way I intended them to after I applied LUT. This is one approach that you can take. The drawback is that it will take some time, testing, and dedication on your part to develop that feel/sixth sense.

Solution 02: Create A Custom Profile For Your Meter
While going with your gut is a viable solution, I wanted to develop a method that was more repeatable and predictable. I wanted something that I could count on, especially in the heat of battle on set, or when faced with an unfamiliar situation. That is when I turned to my trusty Sekonic meter, and the DTS software.
Although some may argue that in the age of digital cinema the light meter is dead, I think it is a very useful tool. Its usefulness is highlighted especially in this type of application: pre-visualizing how your image will look after the grade.
If you are lucky enough to have a DIT on set who can do a one light grade of your image, and you have the time to review it and make changes to the lighting as needed, then creating a profile for your meter is unnecessary. You probably don't need a meter at all. In the world that I work in, I'm constantly being pushed to work faster and more efficiently in order to make our day, so I don't have that luxury- even on the high end commercial work I do. And the meter is the tool that allows me to do just that...
(You might also like: How To Use A Light Meter)
Step 01: Create a Baseline Profile
If you are not familiar with how to create a baseline profile, you can check out my tutorial videos for step-by-step instructions. What you want to do here is to create a profile that matches what your camera will be recording (e.g. Log profile, Neutral, ProLost, etc.).
 |
| Baseline Profile For The C100 Shooting In Log |
Step 02: Adjust the baseline to taste
You may or may not agree with the default settings of the profile you create. The DTS software tends to be conservative in its evaluations, so I recommend not blindly accepting them. Check out the results, and adjust as needed. (This is why Sekonic will let you change the mid tone and clipping point range within the DTS software).
Step 03: Apply the LUT/Grade/Look
After you have created your baseline profile, bring those same frames into your editor, or grading application of choice, and apply your look. Export out new JPGs.
Step 04: Create a New Profile
Using your newly created JPGs, create a new camera profile with the DTS software and save it to your meter.
 |
| Profile Created With FIlmConverts 5207 Stock |
Step 05: Use It In The Field
I recommend loading both the baseline and custom profile to your meter. When you are out in the field, you can quickly and easily switch between the two profiles to "preview" how your image will look after the grade. What I will typically do on a shoot is take an incident reading and set that as my mid tone. I'll then switch to spot mode, and, using the custom profile, I'll take spot readings of important parts of the scene to see where they will fall after the grade. If something is falling out of range, I then adjust the lighting as needed.
 |
| Comparison of C100 in Log, With 5207 & 2393 Stocks |
Custom Profiles:
I have created custom profiles for my C100 using FilmConverts 5207 stock, and the 2393 LUT from Juan Melara that you are welcome to download and use. If you do not have access to an Exposure Profile Target, you can also use any of the frames I have available on my Sekonic Page.
Downloads:
- C100 with 5207
- C100 with 2393
It is my hope that you can shorten your learning curve by learning from mine. In the end it is about telling an authentic story. And, in my opinion, images that look more like film and feel more organic make for a more powerful story. Custom profiles are a way to get there.
What has your experience been like with custom profiles? Are you using them? If so, what for?
Until Next Time - Get Out There And Shoot!
Ryan E. Walters, Cinematographer
RELATED POSTS:
What's The Point Of A Light Meter In The Digital Age
How To Use A Light Meter
How To Create A Camera Profile With the DTS Software
RELATED POSTS:
What's The Point Of A Light Meter In The Digital Age
How To Use A Light Meter
How To Create A Camera Profile With the DTS Software
No comments:
Post a Comment